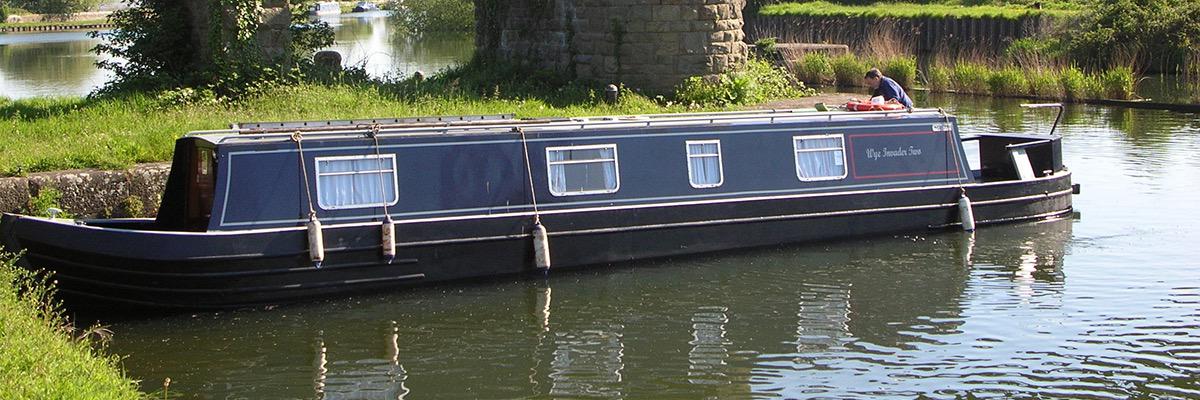

2018 with Wye Invader Two
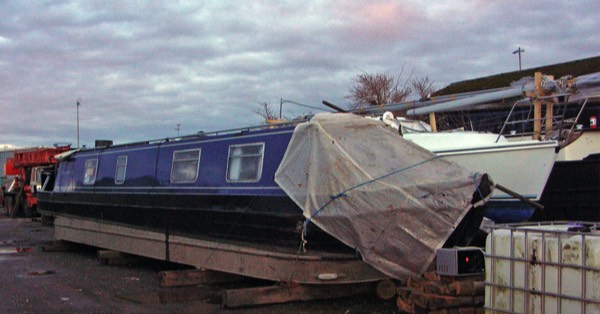
As 2017 came to an end, Wye Invader Two was lifted out onto hard standing for the Winter. 2017 was a busy year, out from Sharpness most weekends she travelled as far North as Upton on Severn and then Stourport, East as far as Hanham Lock via Bristol and she had several trips up the River Wye to Brockweir, unfortunately a planned trip as far as Monmouth on the River Wye was postponed at the last minute due to low water levels and inclement weather.
It's now time to look at winter maintenance and we've got the following list:
- Replace diesel fuel pipes into fuel filter
- Replace fuel filter
- Refill with Injector cleaner and clean diesel fuel
- Change engine oil filter and oil
- Replace injector leak off pipe
- Pressure wash outside hull, check last year's KeelBlack
- Weed hatch, remove all loose rust and old bitumen repaint with KeelBlack
- Clean engine bay and repaint
- Replace bilge pump
Engine bay clean
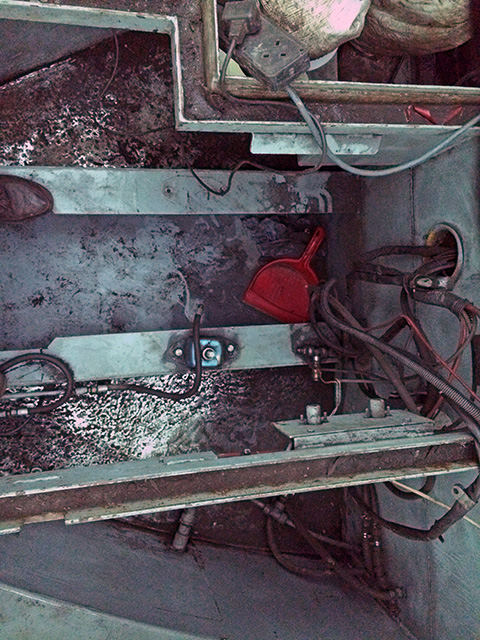
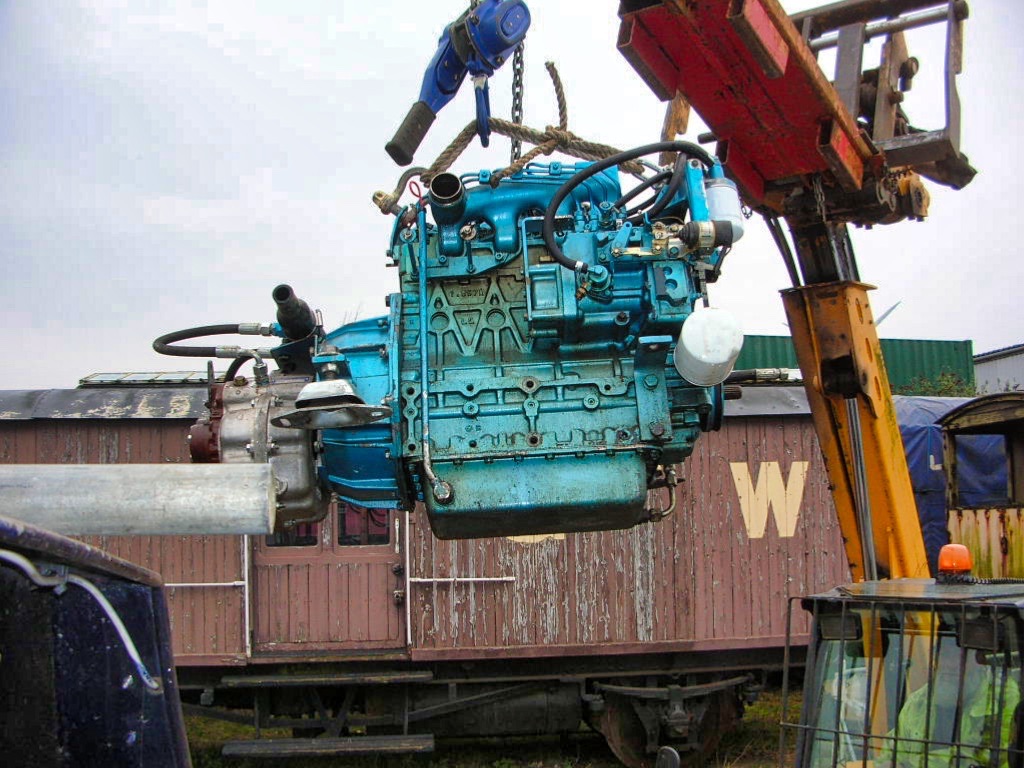
Towards the end of February the fuel pipes and fuel filter were changed, we then made a start on the engine bay only to find the 2 forward engine mounts were well past their sell by date [probably the cause of some vibration in the videos - Dave, video editor!] . So we removed the engine and 2 hours later we had an empty engine bay and we then used a grinder with a 36 grit disc to remove all the paint and rust from the floor and sanding the inner sides of the hull before repainting.
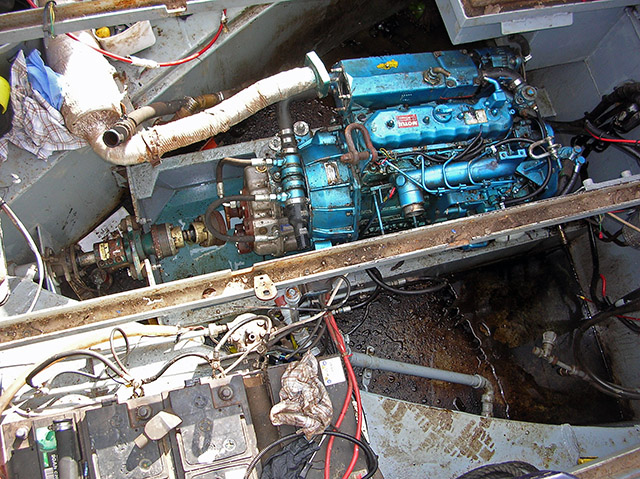
Engine ready to lift out
Ready to grind out rust and clean
The engine is out!
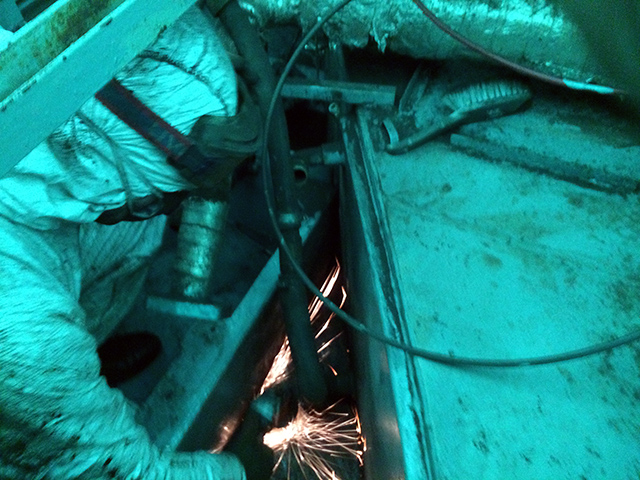
It's a dirty job but someone has to do it!
Fuel System overhaul
The last weekend of February was very cold with an easterly wind blowing however, Wye Invader Two had her engine and stern covered with a large tarpaulin, the sun was shining and out of the wind it was almost Spring.
The list of Winter service items to do would not do themselves and hopefully Summer is not that far away, so we made a start on the fuel system.
1. The first item in the fuel supply line and often forgotten is the fuel water separator, it does the job or separating any water that has found it's way into your fuel tank from the fuel. We removed the base, cleaned it, resealed it and refilled with fuel.
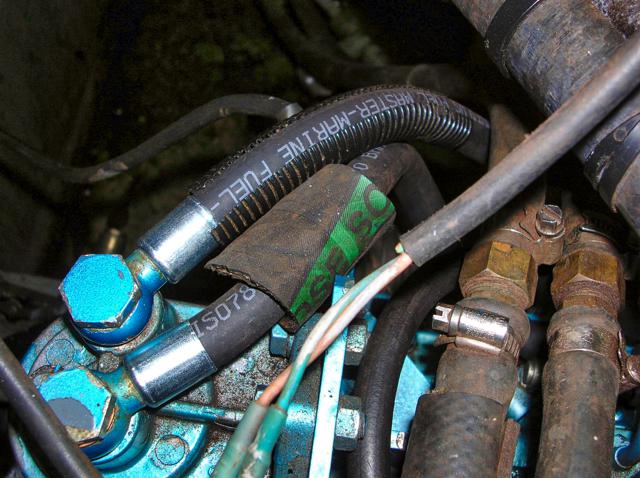
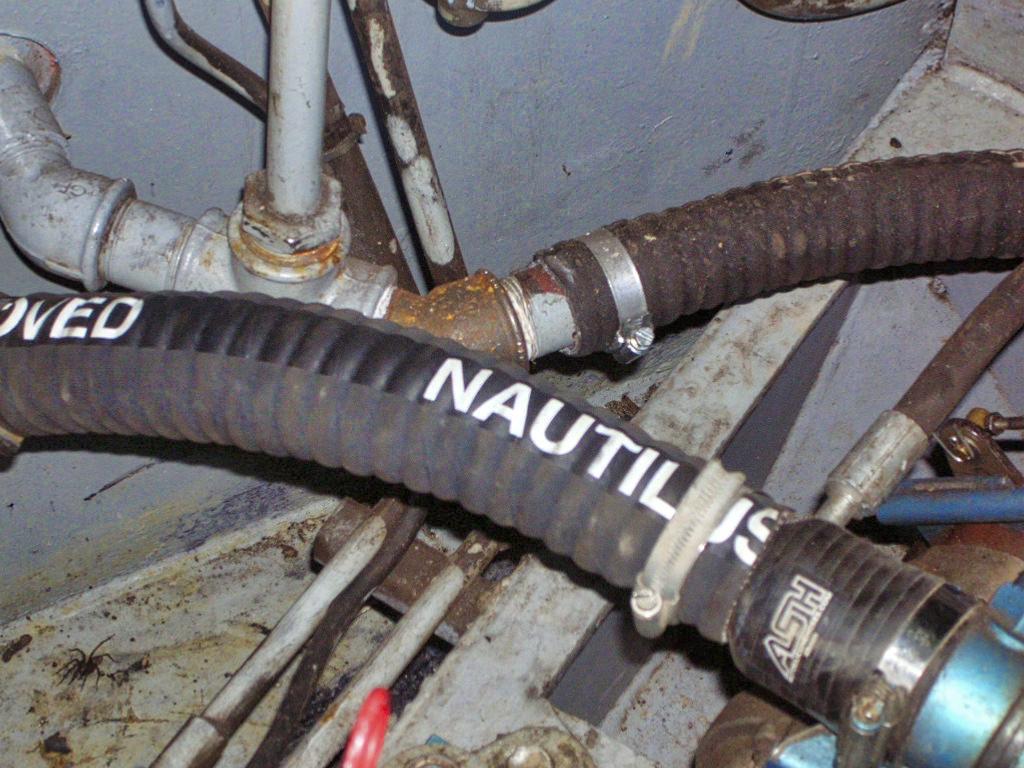
2. 2 fuel pipes and 1 leak off pipe from the injectors to return surplus fuel. These were replaced with new items and were also the correct Fire Resistant Fuel Pipes Spec.
3. The fuel filter was replaced and then filled with injector cleaning fluid to improve starting and performance in general.
4. We bled the fuel system and started the engine to check for fuel leaks and engine performance in general.
Job done!
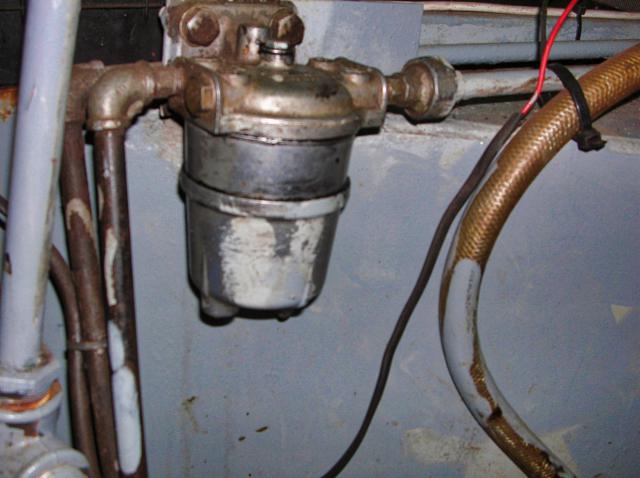
Fuel / Water separator
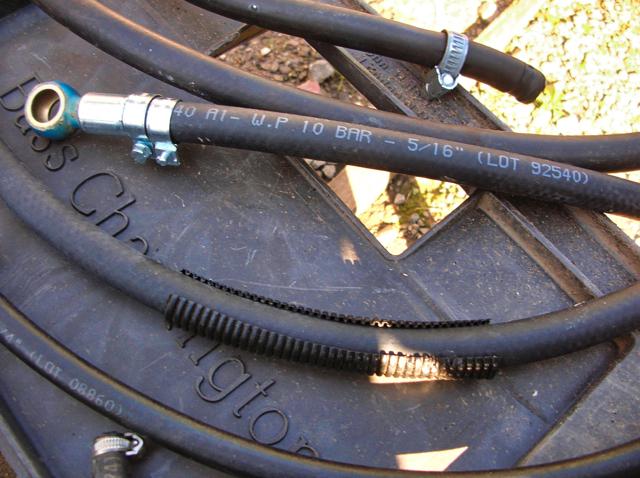
Rated Fuel line hoses
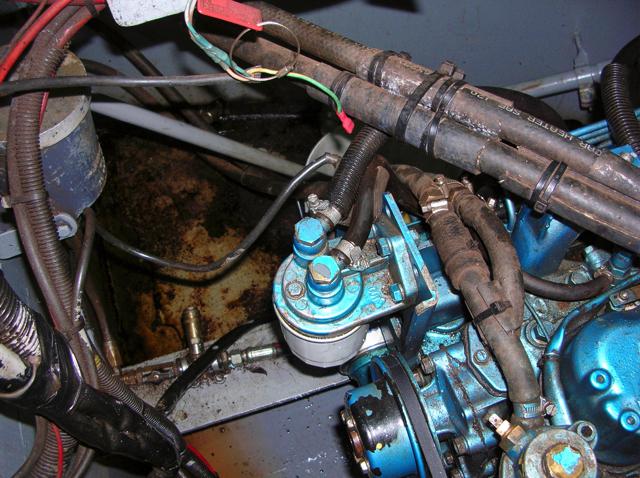
Fuel pump
Job done!
Engine back in.
It's been a busy couple of weeks in between the good and the bad weather!
Friday 23rd March
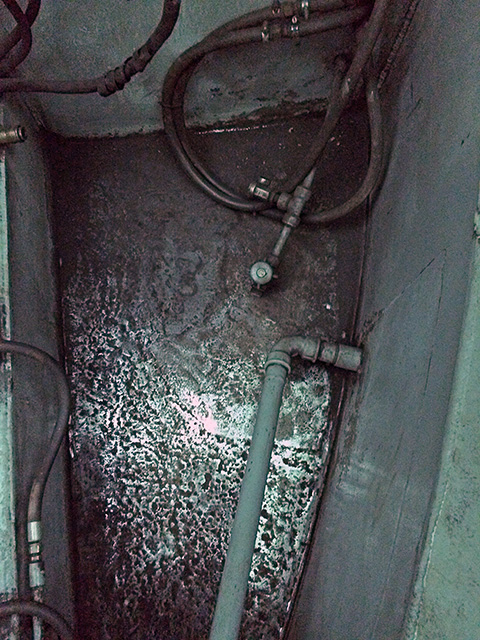
Clean Engine Bay floor areas after grinding and sanding. Paint with Fertan Rust Converter to leave the surface ready for paint.
Saturday 31st March
‘Wet’ flat all painted areas and wipe with panel wipe to remove the grease and damp because of low outside temperatures, paint with grey bilge paint then cover and leave to dry for a few days.
Friday 6th April
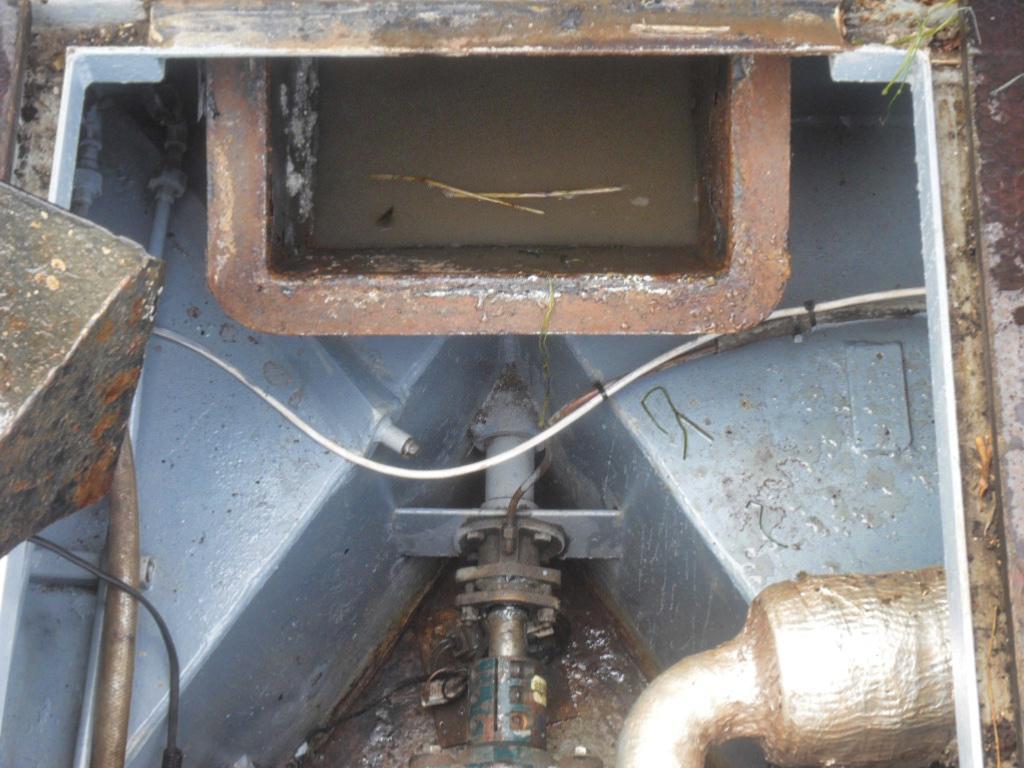
Repack Stern tube with fresh gland packing.
Saturday 7th April
Refit engine, replace the 2 forward engine mountings, 2 water (coolant hoses) from the engine to water expansion pressure tank and 2 water pump (coolant hoses ) to hot water tank for domestic use.
Sunday 8th
Refit gear selector cable and throttle control cable, then start the engine and bleed fuel system and check for fuel leaks.
Job not yet finished, waiting for antifreeze and some water hoses.
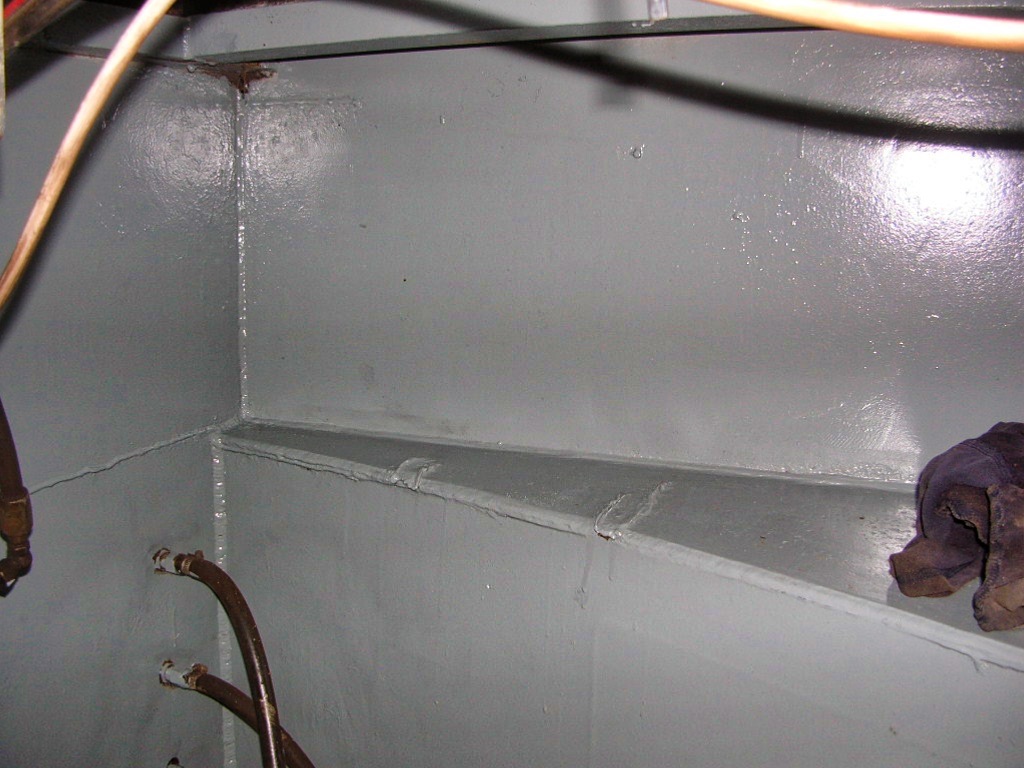
All clean and painted
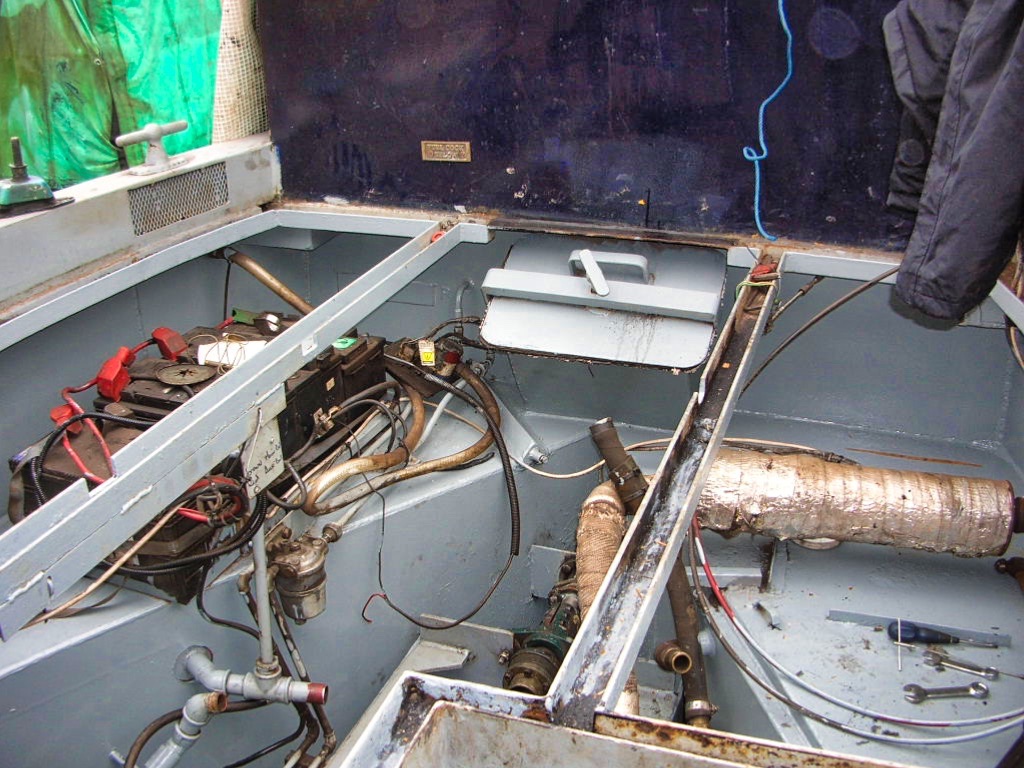
Ready to fit engine
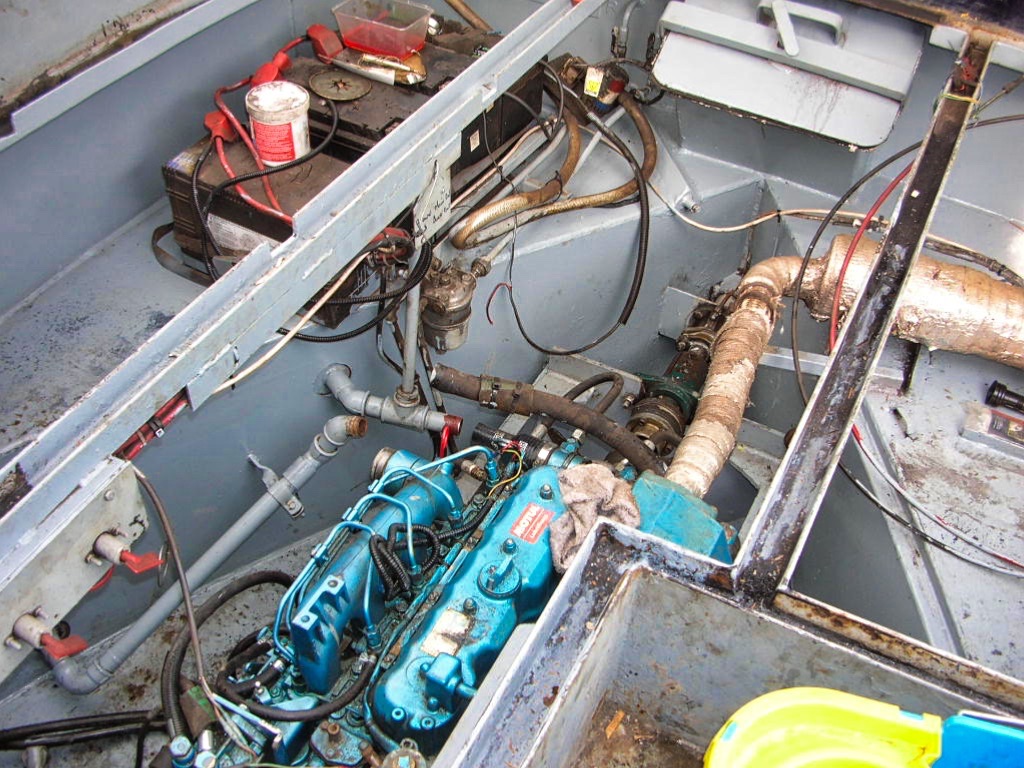
Engine back in
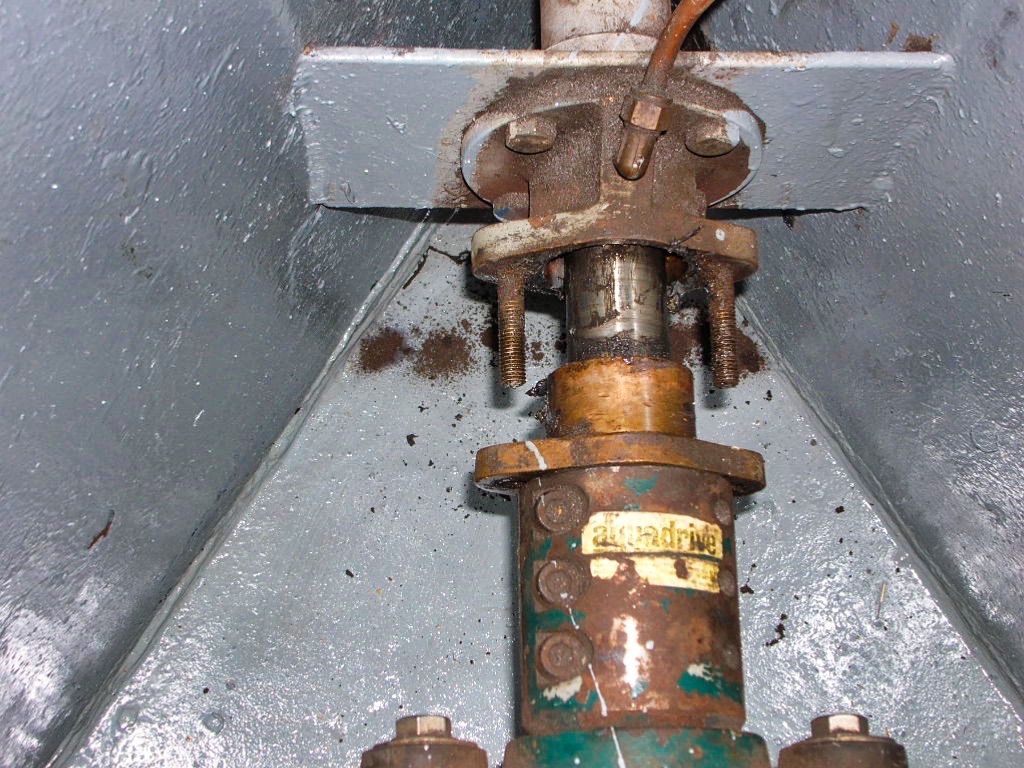
Repack Stern tube
Engine ready to install
Nearly Finished….!
Sunday 15th April
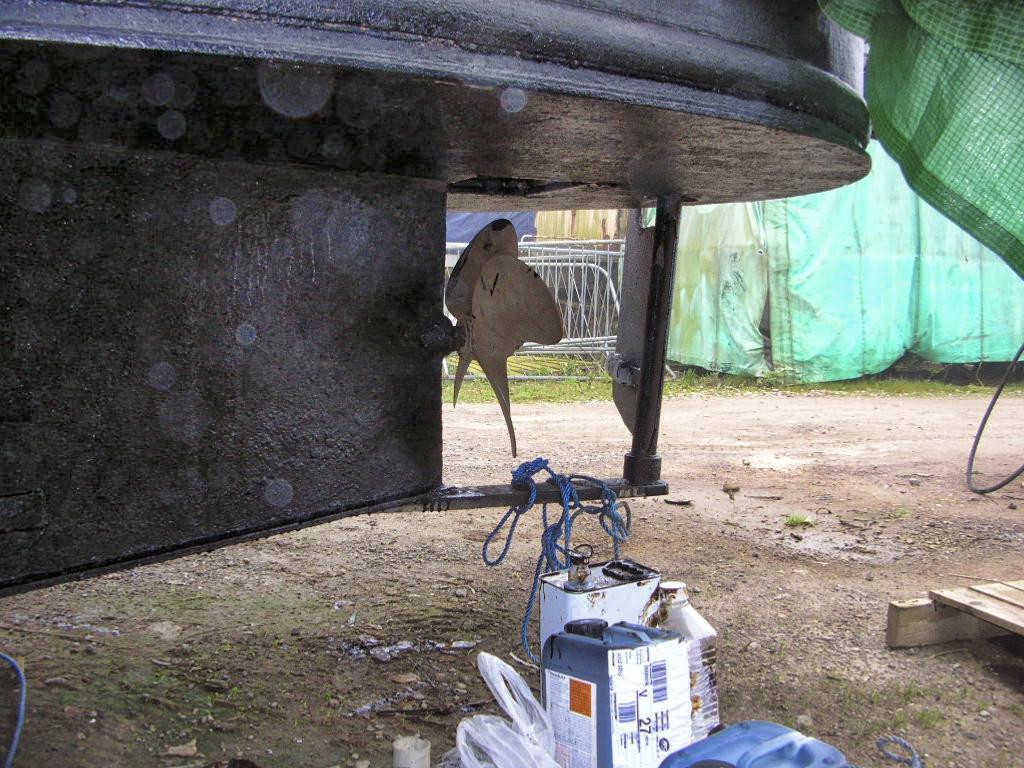
Pressure wash the Wye Invader hull, refresh with Keel Black and remove weed hatch top to gain access and remove all the rust and old bitumen not removed last year.
Friday 20th April
10.00am - Repaint hull with Keel Black, first coat time taken about 1hr 30 mins.
14.00pm - 2nd coat applied
16.00pm - Checked all the coolant hoses and refilled the engine and swim tanks with anti-freeze, then started the engine and then run the engine up to temp, cleared the air locks out of the system and checked for leaks.
Saturday 21st April
10.00am - 3rd coat Keel Black applied.
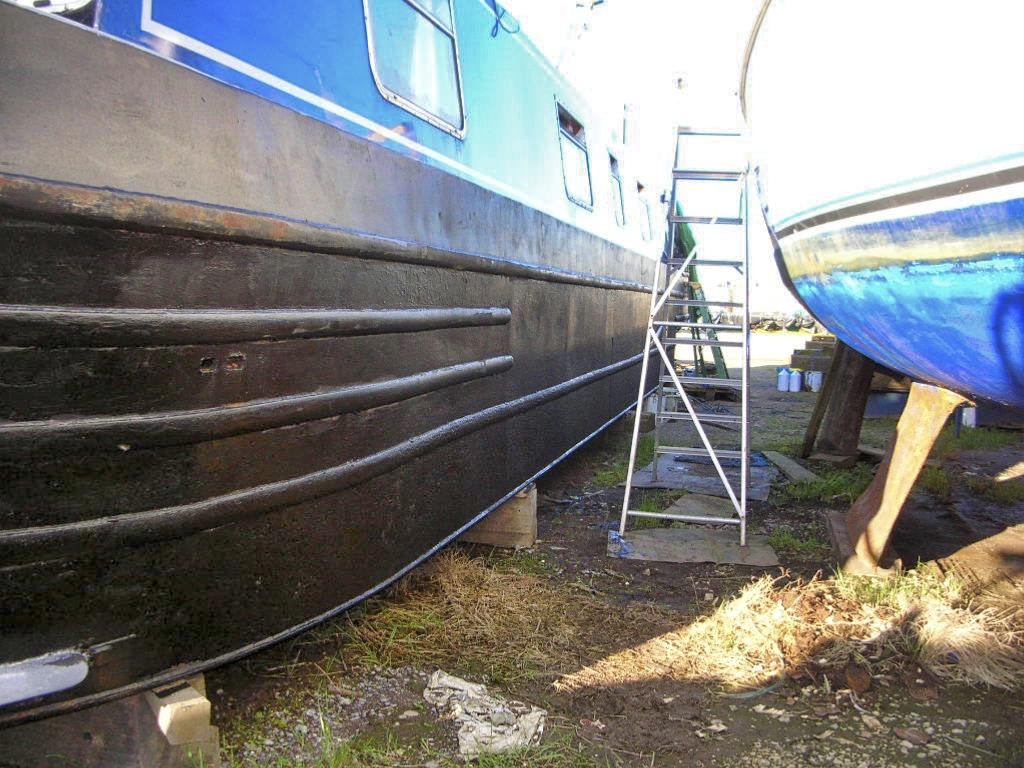
After pressure wash
Keel Black ready
Check hoses
Weed Hatch
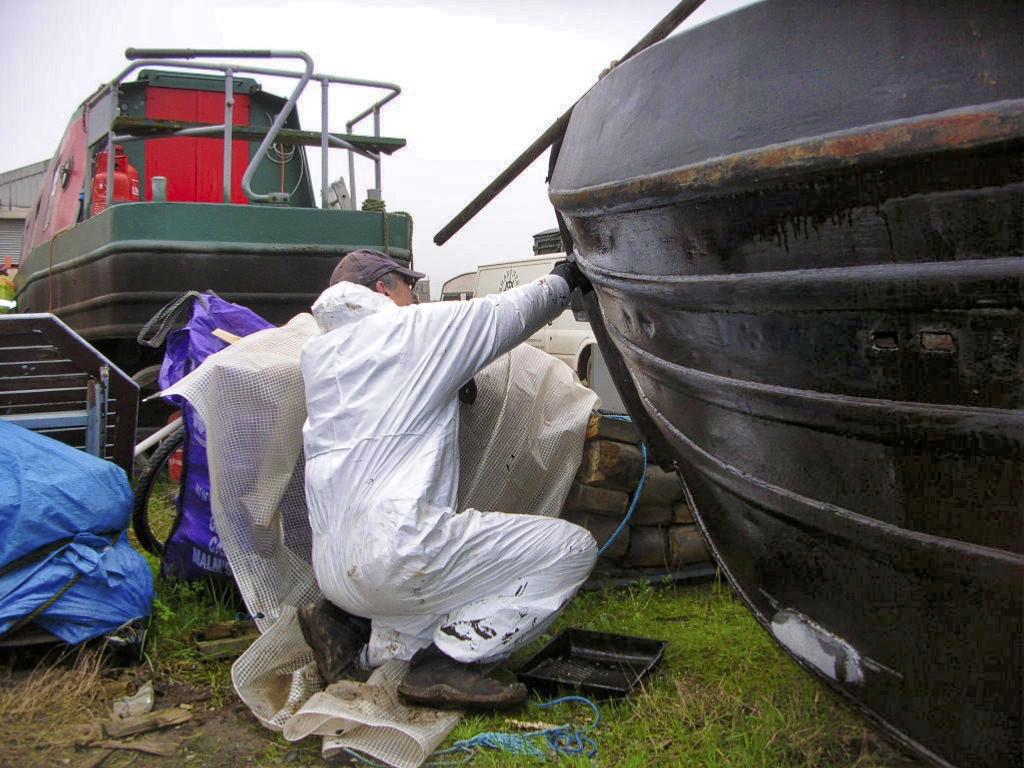
First coat of Keel Black

Final inspection for leaks
We're back in the water….!
On the last weekend of April we sanded off the roof ready to be repainted with Anti-Slip paint. The following day we wiped off the condensation and then wiped down with spirit wipe before repainting with Mid Grey Anti Slip paint.
The following weekend it was time to check the engine, it started and was left to come up to temperature, then we changed the oil and the two oil filters, one on the engine and one more off to one side called a Clean Oil Filter which removes condensation and carbon. We also changed the gearbox oil with fresh 15/45 Mineral oil.
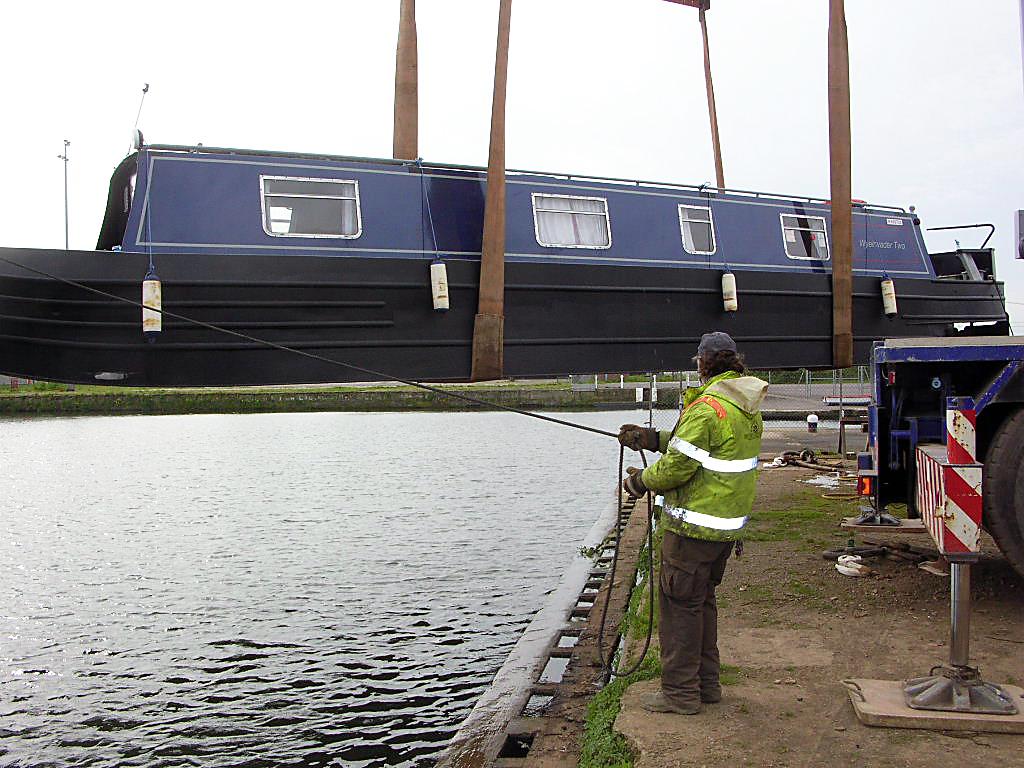
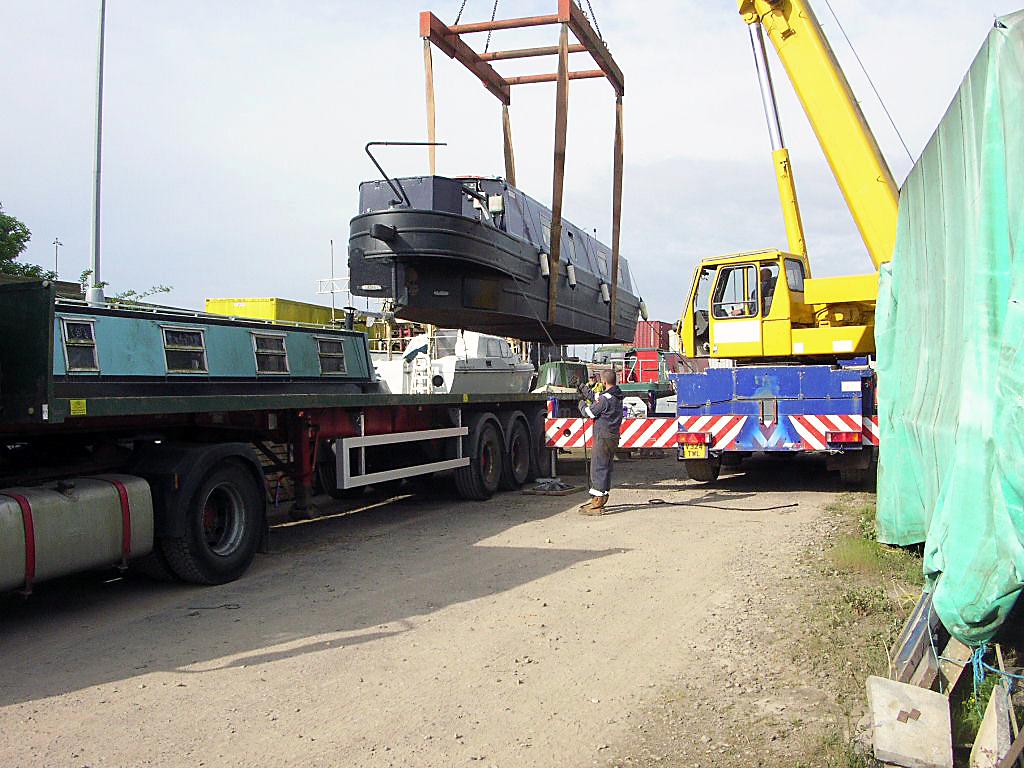
On Friday 11th May the HGV and crane arrived, Wye Invader Two was transported a few hundred metres to the canal and lowered into the water, after checking for leaks we left the docks when the bridge was opened up to the Sharpness Canal and we’re already for another season.
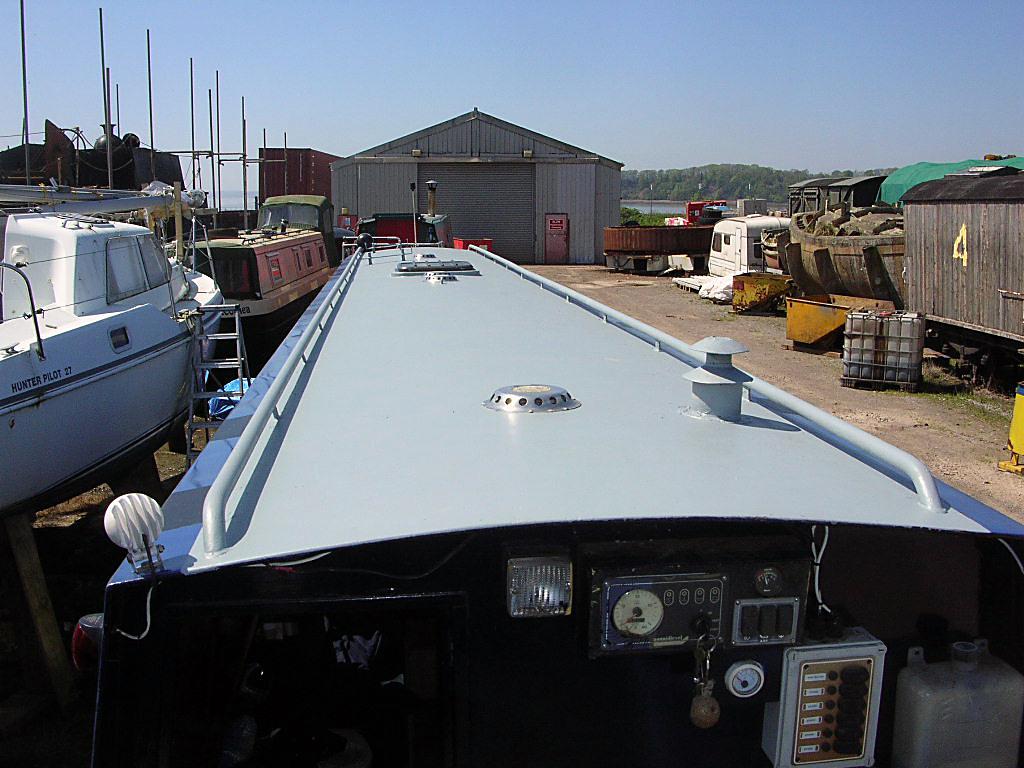
Anti Slip applied
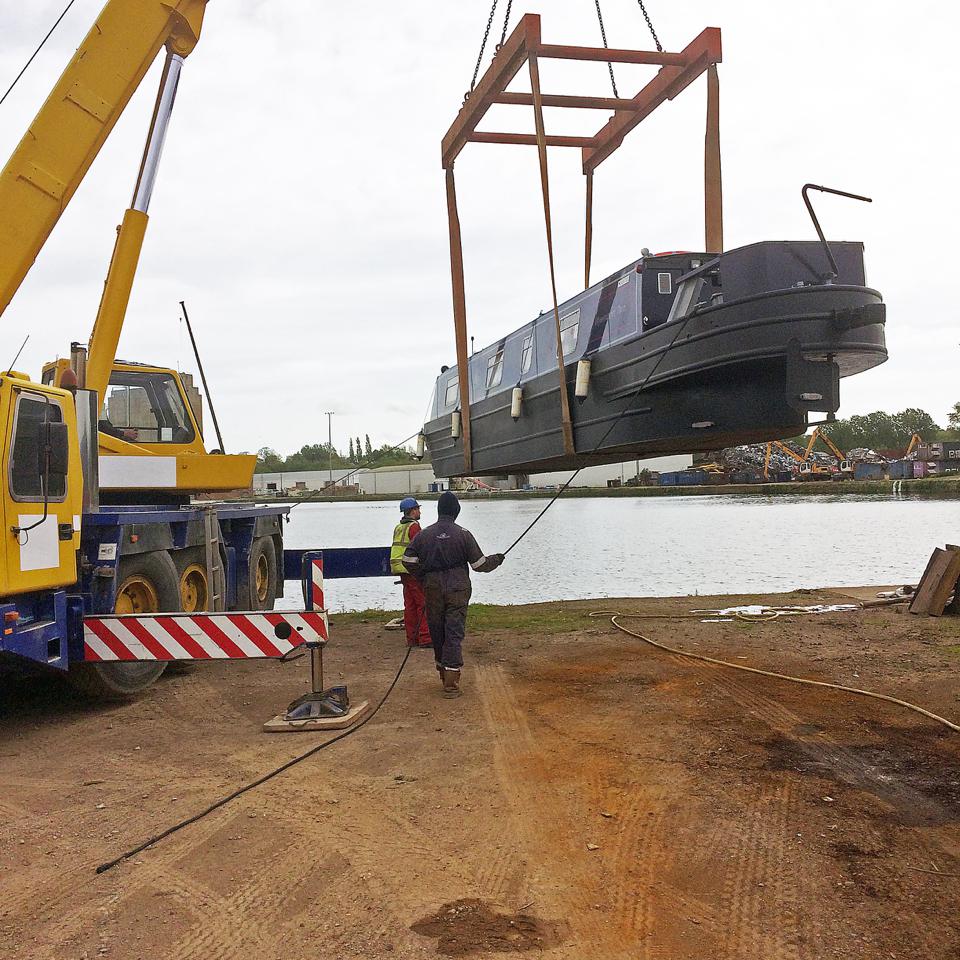
A short trip to the canal
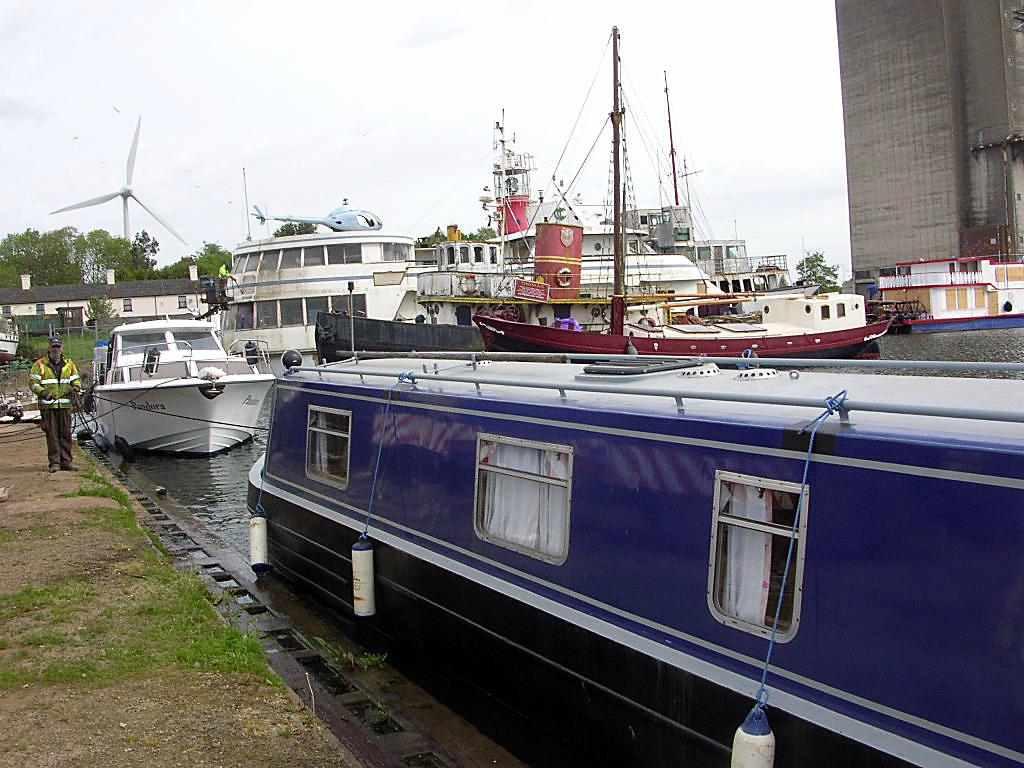
and she's back in the water.
Lifting up